 Lens Flare Rig
Lens Flare Rig
A simple yet powerful rig to add a lens flare to your animations. Just attach it to a light source, then scale, rotate and size your flare to your heart's content.

Welcome to our collection of After Effects freebies and tutorials. Free rigs, free source files, and the techniques we use ourselves.
Animation, as we all know, can often be a time-consuming and meticulous process. However, by crafting efficient rigs and project files we can significantly expedite our workflow. At our core, we believe in the power of sharing our expertise to aid fellow motion designers worldwide.
That's why we've dedicated ourselves not only to creating our own rigs for seamless project execution, but also to offering a range of After Effects tutorials. These serve as resources for budding motion designers looking to kickstart their animation careers.
Free to grab, free to use in your own projects.
Both rigs are hosted on Gumroad, where the live site has always kept them. They are free — you will not be asked for payment details.
Where creativity meets expertise. Dive into the world of dynamic visuals and bring your ideas to life — whether you're a seasoned motion graphics artist or just starting your animation journey, these step-by-step guides will help you master the craft.
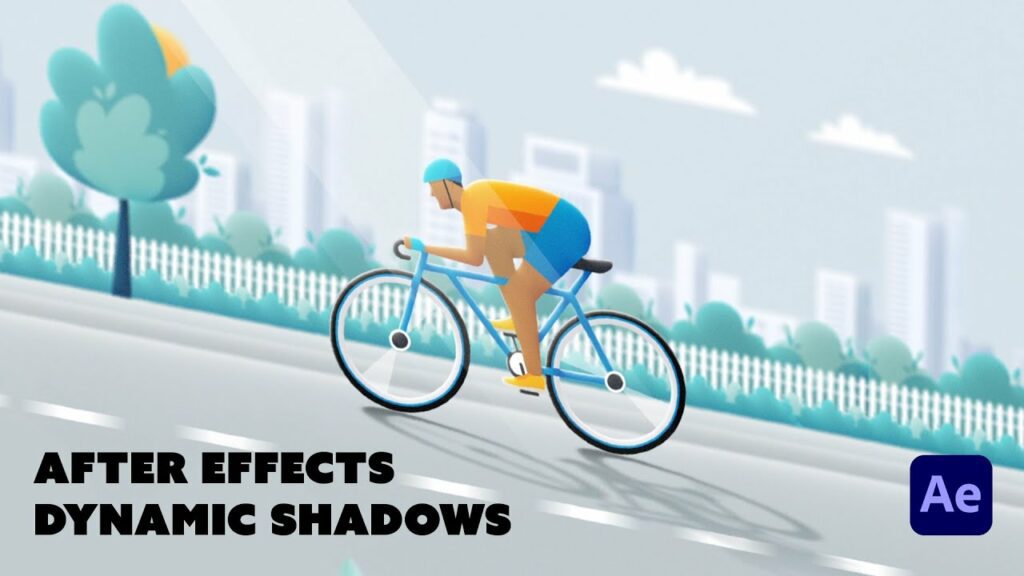 Dynamic Shadows
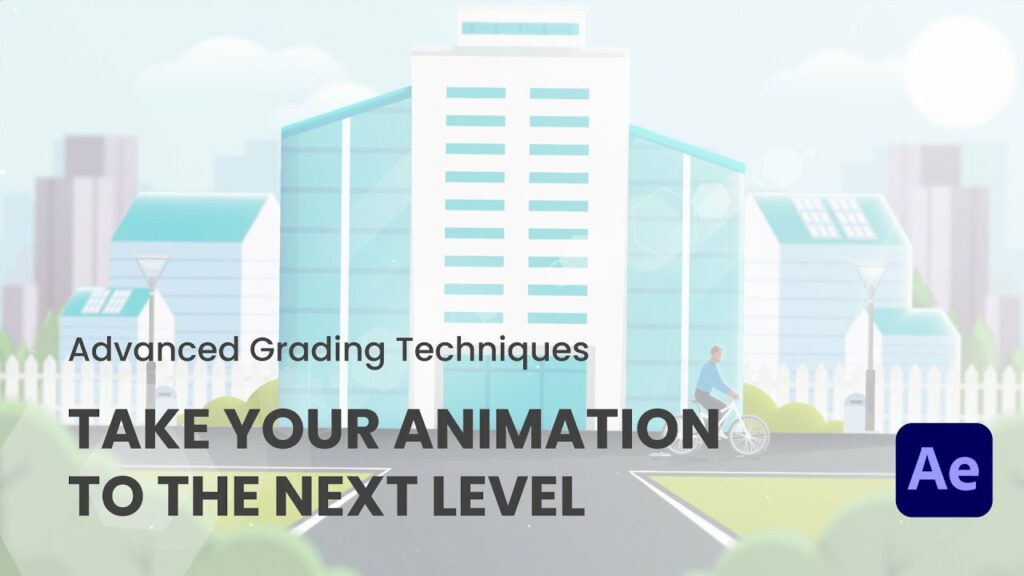 After Effects Grading
Every After Effects user has experienced the frustration of sluggish rendering. Even with a powerful machine, adding several effects — camera lens blur, deep glow, shadows — can cause the timeline to crawl. A single frame might take several seconds, and across a whole composition the time quickly adds up.
The usual fix is to turn effects off by hand while you work and back on to render. It works, but it is slow going in a complex project with many layers. A better approach is to link those effects to a single checkbox, so one click disables the lot.
Apply this expression to the properties you want to toggle:
if(comp("11AA - Project Name - Main").layer("FX Controller").effect("FX Controller")("Checkbox")==0) {0} else {100}Change the names to match your own project. 11AA - Project Name - Main is the composition holding your adjustment layer; FX Controller is the adjustment layer itself, and also the name given to the checkbox control effect on it.
Uncheck the box and the effects switch off, taking the load off your machine so you can keep working. Check it again when you are ready to render and everything comes back. It works across an unlimited number of layers, which is what makes it worth setting up once.
If you drive After Effects with KBar, point a button at a script that runs this and you can toggle from the toolbar — just remember to have the relevant property selected before you click.
More on our craft in our guide to the top 10 After Effects plugins.
We're a working studio — tell us about your project and we'll reply within one working day.
Cookies, briefly
We'd like to use analytics cookies to see which pages earn their place and which don't. Nothing is stored unless you say yes, we never use them for advertising, and you can change your mind whenever you like. How we handle your data.
